A rack installation is successful when equipment fits, technicians can service it and cables reach without blocking airflow. Those outcomes depend on decisions made before the rack is anchored or the first device is mounted.
Room and rack readiness
Confirm the rack location against door swing, work clearances, ceiling conditions, cable entry and the path used to bring equipment into the room. Check floor or wall construction and use an anchoring approach appropriate to the site and rack manufacturer.
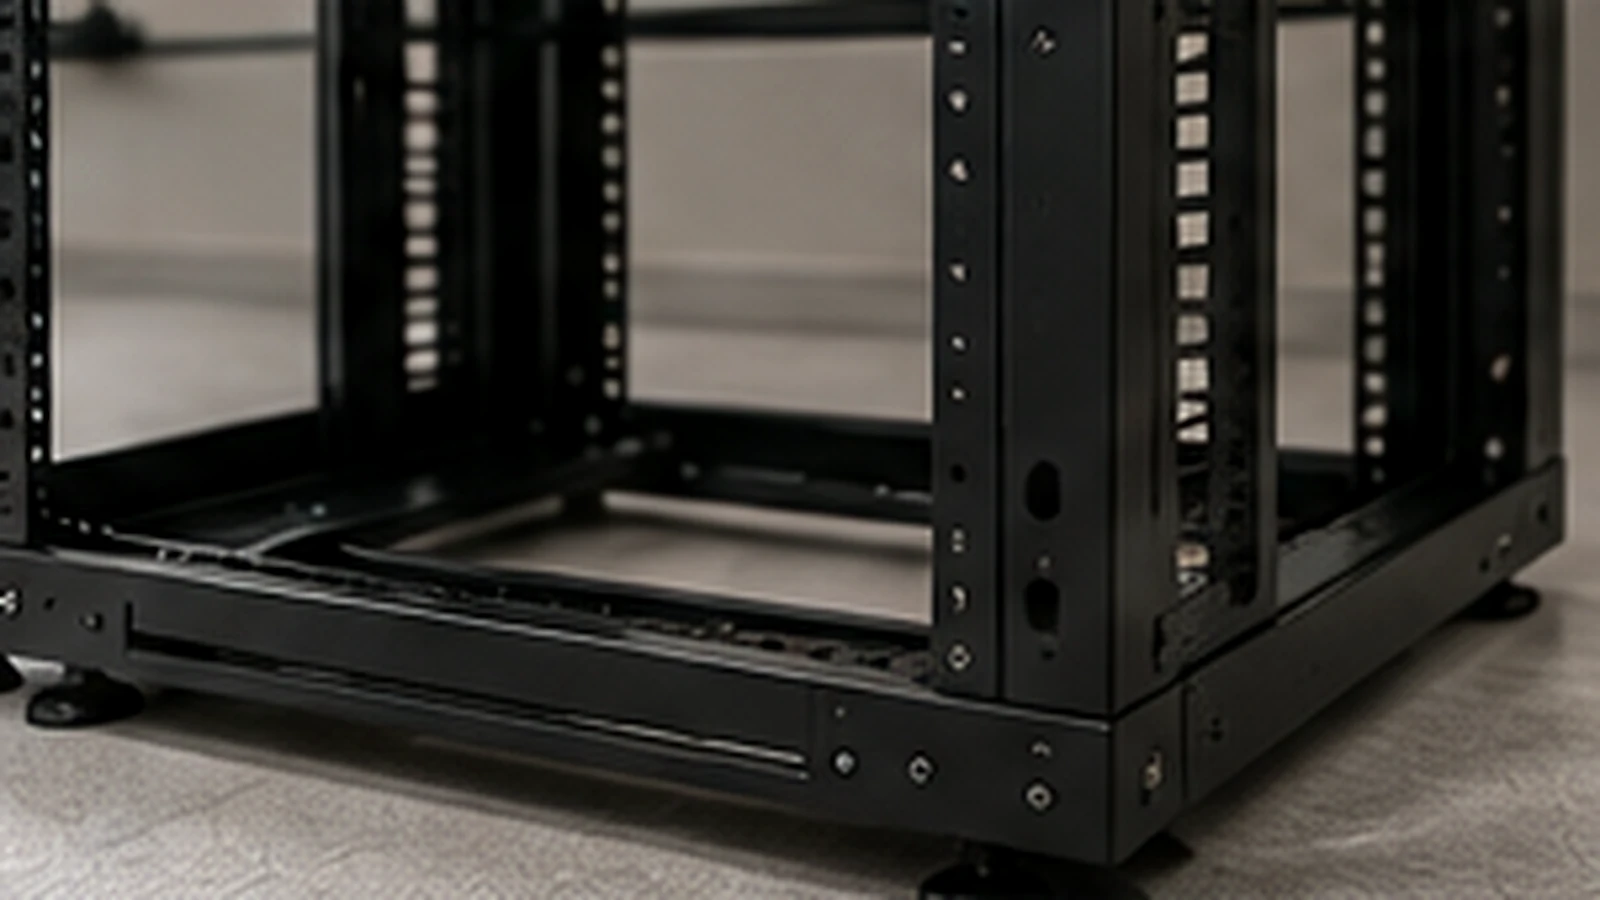
Verify rack width, usable depth, rail type and weight capacity against every planned device. “19-inch rack mount” does not guarantee that a deep server, cable arm or rear power connection will fit the selected cabinet.
Power, grounding and cooling
Document the power source, receptacles, PDU positions, plug types and redundant-feed plan. Electrical work and grounding or bonding requirements should be coordinated with the responsible qualified trade.
Air needs a clear path. Avoid filling the front of a rack with unmanaged patch cords or leaving open spaces that undermine the intended airflow pattern in a controlled environment. Confirm heat output and room cooling rather than assuming an existing closet can absorb new equipment.
Build the elevation
Create a rack elevation before installation. Place heavy equipment low, preserve service access and keep likely growth space intentional rather than scattered. Confirm that switches align sensibly with patch panels and managers.
The elevation should show:
- Rack unit position for every device
- Patch panels and horizontal managers
- Vertical cable managers and PDUs
- Front-to-rear airflow direction
- Reserved growth space
- Copper, fiber and power entry
Our Rack Space Planner can estimate required rack units, but depth, weight, power and cooling still require separate verification.
Stage hardware before the window
Inventory rails, cage nuts, screws, transceivers, patch cords and power cables. Verify that rail kits match the rack. Record serial numbers and asset tags before devices become difficult to access.
For active-site work, define the method of procedure, remote contacts, stop conditions and rollback point. Label both ends of every new patch cord before the maintenance window becomes busy.
Finish with records
Update the rack elevation, port schedule and photographs after installation. Remove packaging and installation debris, but retain required accessories and asset documentation. Confirm that doors close, cables have strain relief and service loops do not obstruct fans or removable components.
Data Infra provides server and network rack installation, equipment mounting, patching and field documentation for new rooms and equipment refreshes.